Okta SSO
Prerequisites
- A Workspace that’s on an Enterprise plan
- Admin access to the Workspace you want to configure with Okta Single-Sign-On (SSO)
- Admin privileges for your Okta Organization
Supported features
- Identity Provider (IdP) initiated SSO
- Service Provider (SP) initiated SSO
- Just-In-Time account provisioning
For more information on the listed features, visit the Okta Glossary.
Configuration
Read this before you enable “Require SSO”
Enabling “Require SSO” will force all users to sign in via Okta. Ensure that you have admin access to your Modal Workspace through an Okta account before enabling.
Configuration steps
Step 1: Add Modal app to Okta Applications
Sign in to your Okta admin dashboard
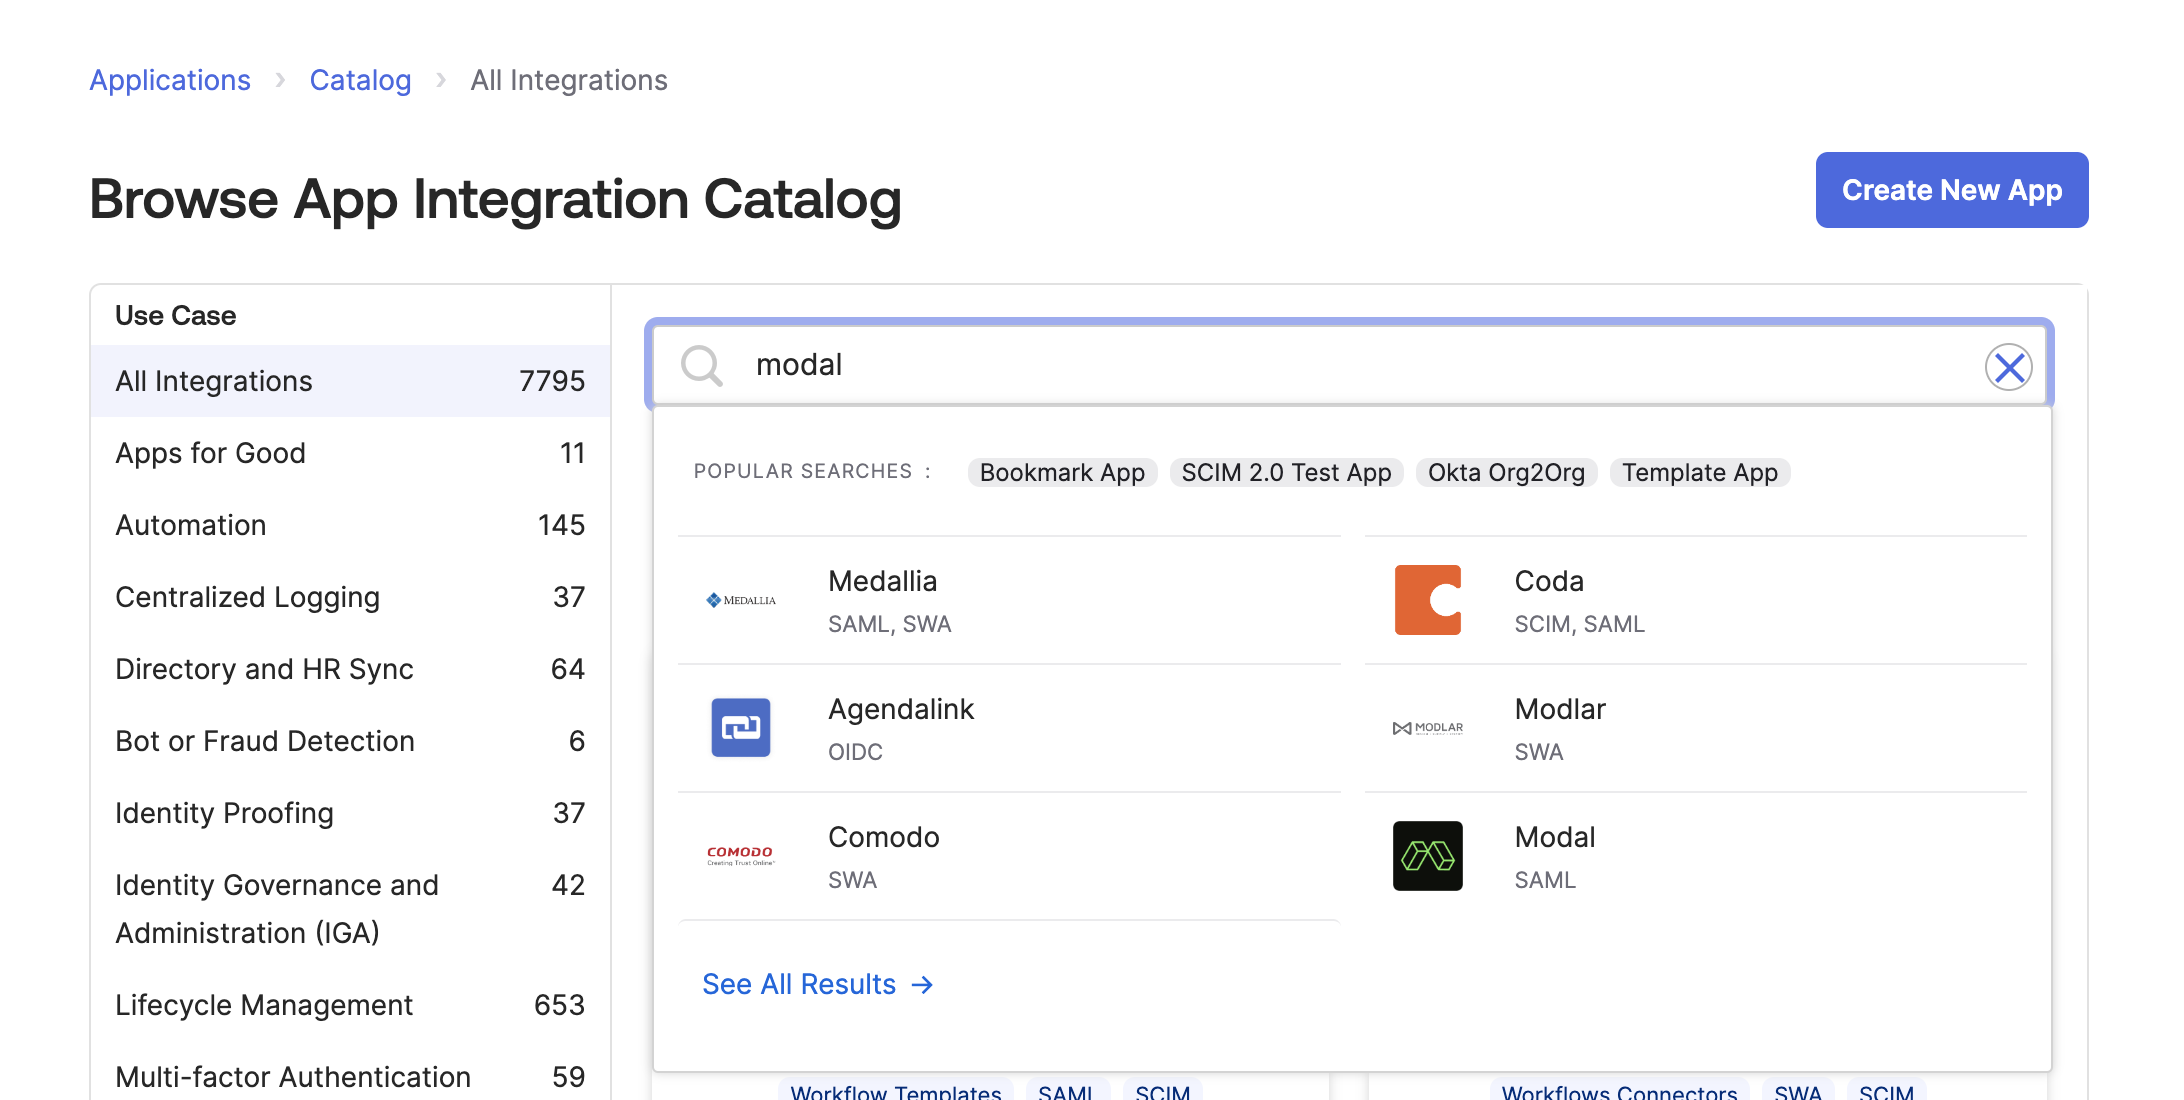
Navigate to the Applications tab and click “Browse App Catalog”.

Select “Modal” and click “Done”.
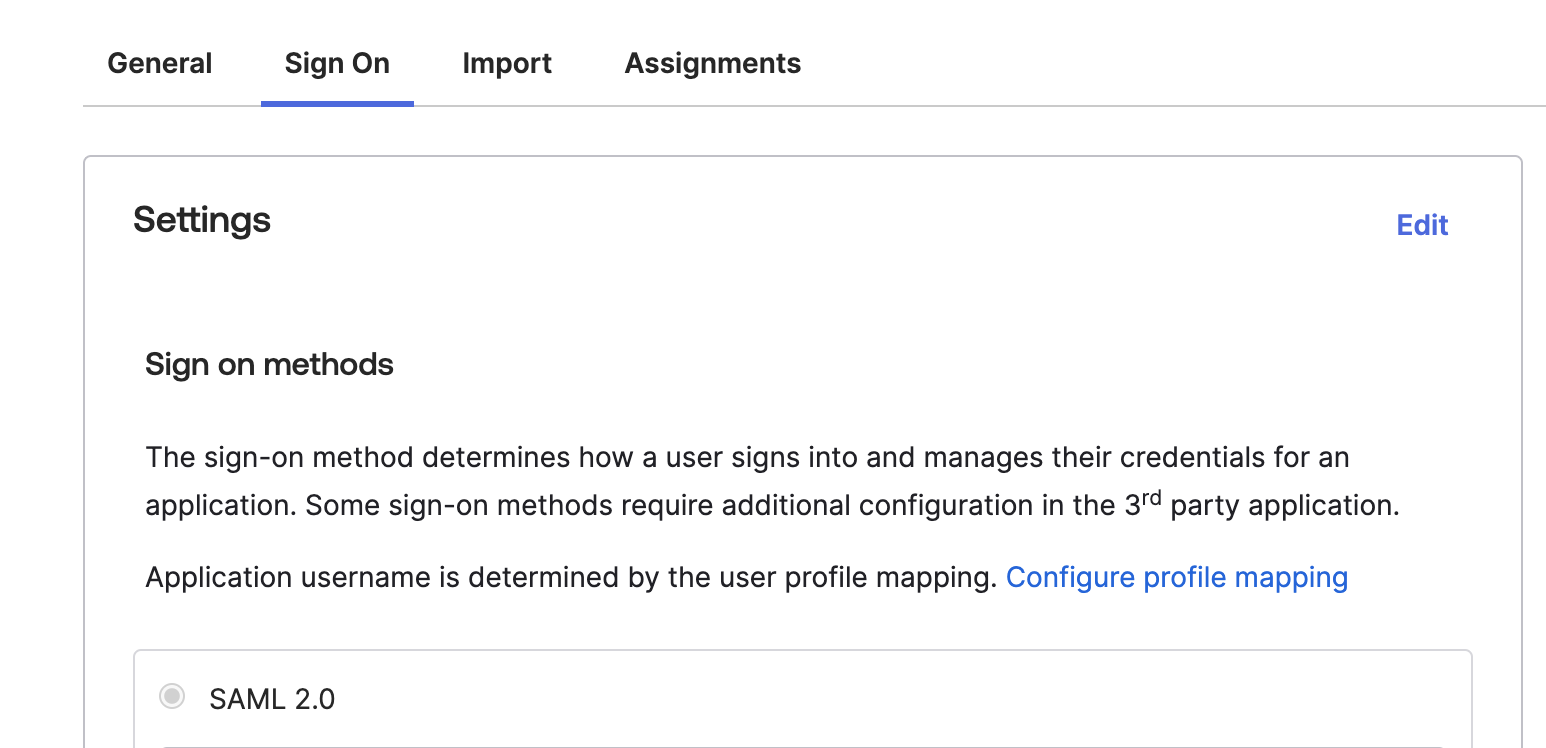
Select the “Sign On” tab and click “Edit”.

Fill out Workspace field to configure for your specific Modal workspace. See Step 2 if you’re unsure what this is.

Step 2: Link your Workspace to Okta Modal application
Navigate to your application on the Okta Admin page.
Copy the Metadata URL from the Okta Admin Console (It’s under the “Sign On” tab).

Sign in to https://modal.com and visit your Workspace Management page’s
Identity and Provisioningtab.Paste the Metadata URL in the input and click “Save Changes”
Step 3: Assign users / groups and test the integration
- Navigate back to your Okta application on the Okta Admin dashboard.
- Click on the “Assignments” tab and add the appropriate people or groups.

- To test the integration, sign in as one of the users you assigned in the previous step.
- Click on the Modal application on the Okta Dashboard to initiate Single Sign-On.
Notes
The following SAML attributes are used by the integration:
| Name | Value |
|---|---|
| user.email | |
| firstName | user.firstName |
| lastName | user.lastName |
SP-initiated SSO
The sign-in process is initiated from https://modal.com/login/sso
- Enter your workspace name in the input
- Click “continue with SSO” to authenticate with Okta